Showing posts with label Gradient Nails. Show all posts

Wednesday, 22 May 2013

Rainbows, Gradients and Studs - Nail Art

Today I have more neon and more studs for you so I hope you're not bored of them yet!
This was one of those designs that popped into my head when I was supposed to be asleep, that happen to anyone else? And all you can think about is going and painting your nails?
It happens to me often.


For this I used a base of Barry M Matt White, left it to dry then taped off half the nail on my middle, ring finger and thumb. Then did a sponge gradient (tutorial HERE) using China Glaze Splish Splash, Sun-Kissed and Love's A Beach. After that had dried I applied Barry M All In One Top coat, Base coat and Nail Hardener and stuck the studs (review HERE, purchase HERE) on while that was still wet then finished with a coat of Seche Vite.

I was quite pleased how they turned out, they made me feel super summery, which is a shame really as it started to rain shortly after I finished them!

♥ A ♥

Tuesday, 21 May 2013

Sponge Gradient - Tutorial

I have put this off far too long!
I've finally done a photo tutorial on how I do a sponge gradient.
It's no different to any other sponge gradient tutorial I'm sure but I did promise one then promptly forgot!
Better late than never though :-)


You will need-
White nail polish for your base.
Two or more polishes of your choosing.
A piece of kitchen sponge.
Acetone.
Clean up brush/cotton buds.

First of all I'll just say that the type of sponge I use is the yellow ones with the green scouring pad on the top, I just cut off the yellow sponge then cut that into roughly eight smaller pieces.


Step 1 - Apply a base of your white polish and let it dry.
Step 2 - Dampen your piece of sponge, then paint you chosen colours onto the sponge.
Step 3 - Dab the sponge onto the nail.
Step 4 - Keep dabbing while moving the sponge up and down the nail slightly ensuring you cover the whole nail and creating a blend between the colours. Leave to dry for a couple of minutes.
Step 5 - Repeat Step 4 to get a more even coverage and better colour pay off.
Step 6 - Clean up around the nail and finish with your chosen top coat.

If I'm not using the gradient for a base for nail art then I like to add a coat of China Glaze Fairy Dust over the top to give it a bit of sparkle which is what I have done in the photos below.


I hope that was easy enough to follow!? 
I am going to make an effort to do more tutorials for you, the reason why I haven't before is because usually I don't know what I'm going to do when I sit down to do my nails so it doesn't occur to me to stop and take a photo at each stage. I think my best bet is to do video tutorials but that involves a new camera and learning how to edit which quite frankly terrifies me, but I am looking into it!
In the mean time if there are any other tutorials you would like me to attempt here on the blog then let me know, I will certainly give it a whirl!

♥ A ♥

Friday, 17 May 2013

Inspired by... - Graffiti Nails

Quite a while ago now I came across this video by Algae Veronica on YouTube and absolutely loved it.
I knew I wanted to have a go at something similar but just never got round to it until recently!


I decided to start with a base of Barry M Matt White.
Then I used Splish Splash, Love's A Beach, Orange You Hot?, Beach Cruise-R, Sun-Kissed and I'm With The Lifeguard from the China Glaze Summer Neon 2012 Collection to create the sponged gradients in the corners. I then used Barry M Black with a fine nail art brush to free hand the explosions.

I loved wearing these, they made me happy every time I looked down at my nails!

If you want to see more of Algae Veronicas amazing nail designs then you can find her in the following places.


♥ A ♥

Tuesday, 29 January 2013

Glitter Tips Gleeq Week - Day 2 Glequin Gradient


It's Day 2 of 'Gleeq week' and today I have a Glequin Gradient to show you.

If you missed yesterdays Glequin mani and my review of the Born Pretty Store Glequins you can see that HERE.


This was so tricky to photograph!
Hopefully you can get the idea from the pictures though.
I've used two coats of Barry M Matt White as a base and positioned the Glequin gradient across the middle of the nails. I also tried to give the effect of it fading out to the top and bottom of the nails too if that makes any sense at all!?
Starting from the thumb the colours are Red to Orange, Pale Pink to Pale Lilac, Dark Blue to Turquoise, Dark Green to Lime Green, Pale Green/Gold to Silver.

You can purchase the Glequins from the Born Pretty Store HERE for $6.45 with free delivery and you can get 10% off using the code QPL91 which is also in my side bar!

I hope you have enjoyed Day 2 of 'Gleeq Week' and see you tomorrow for Day 3!

♥ A ♥

Friday, 11 January 2013

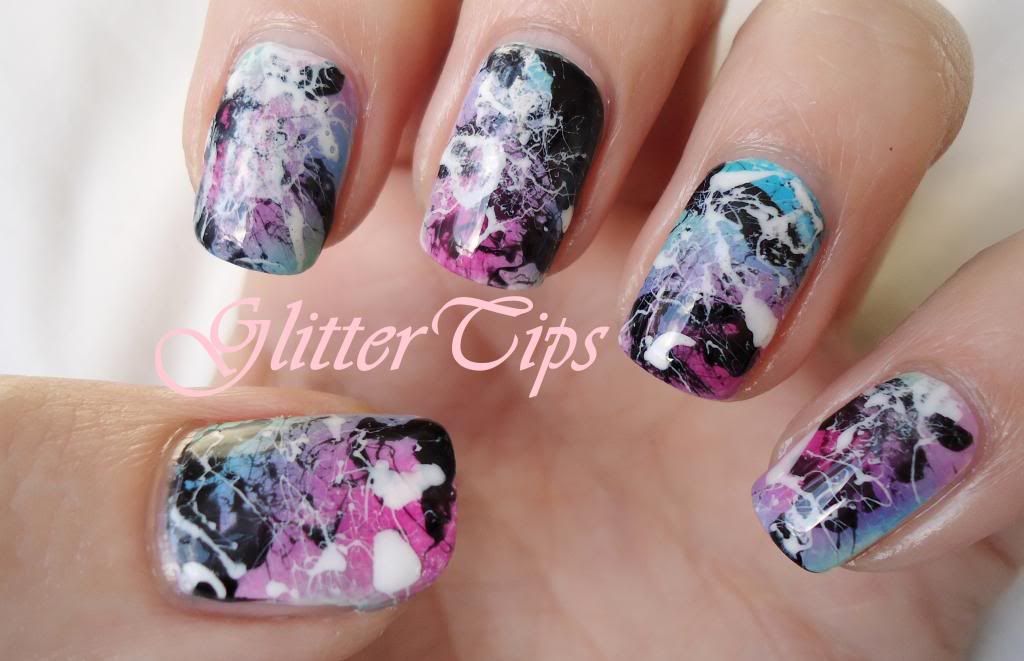
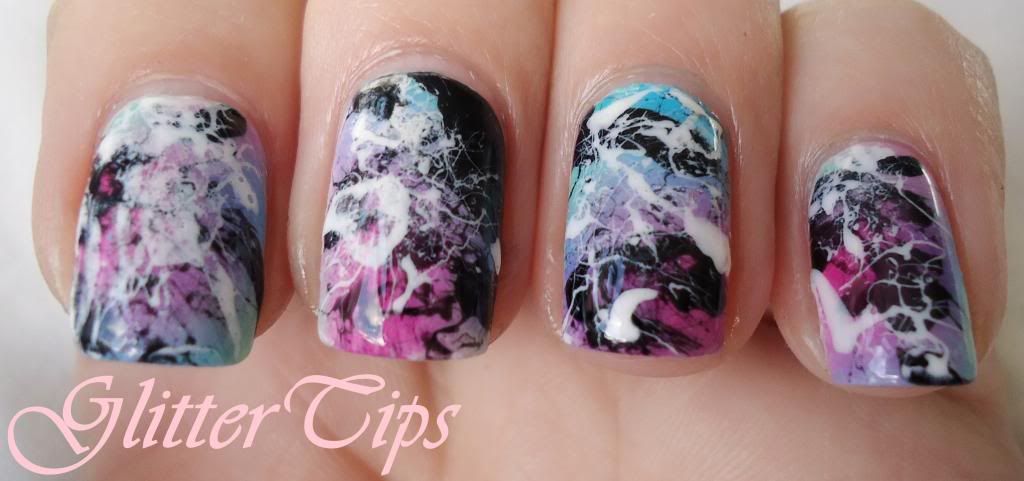
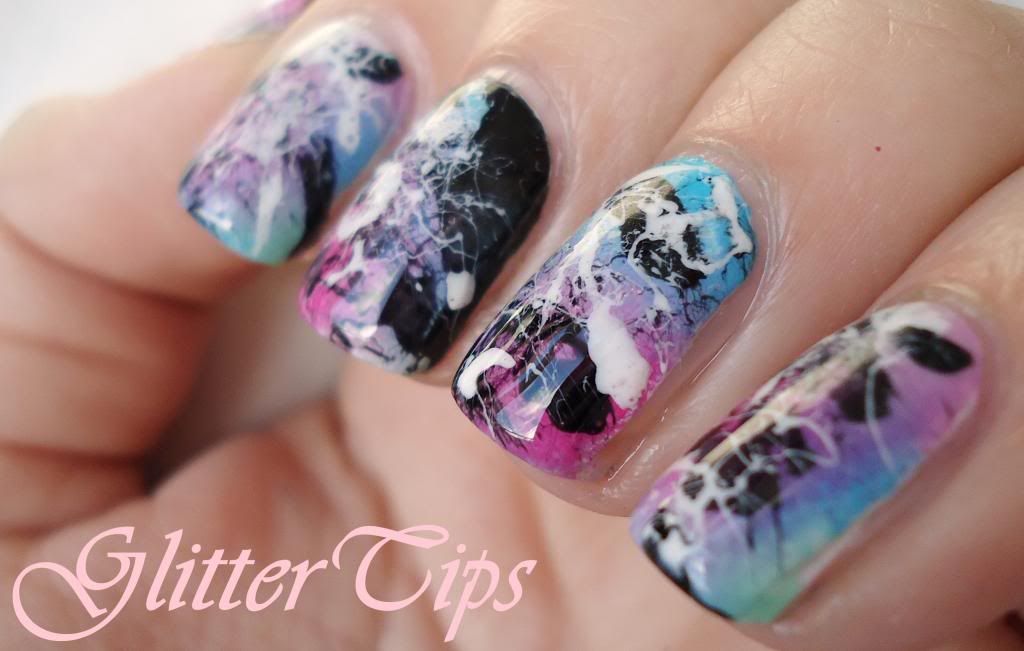
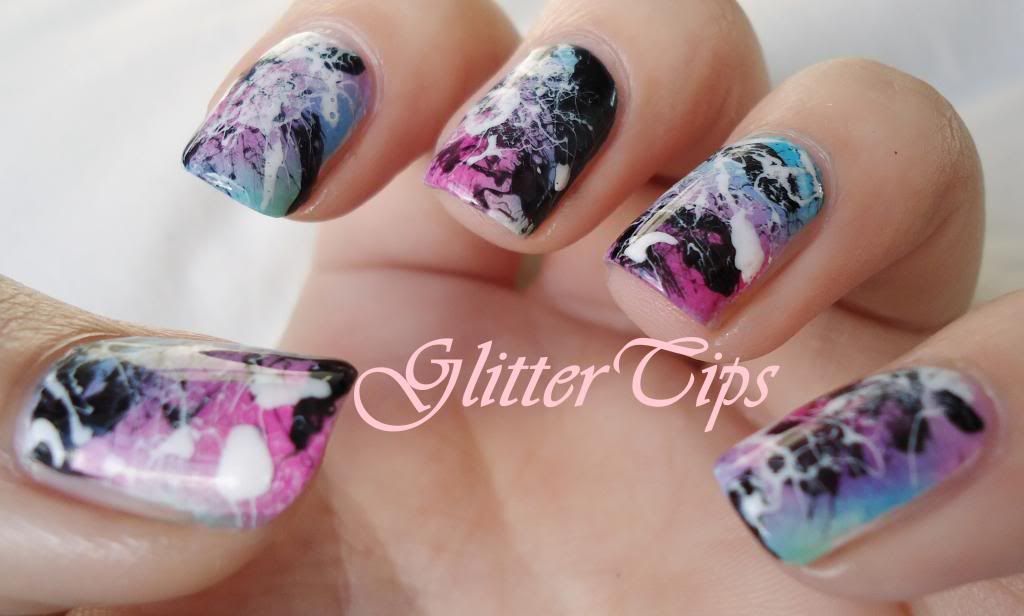
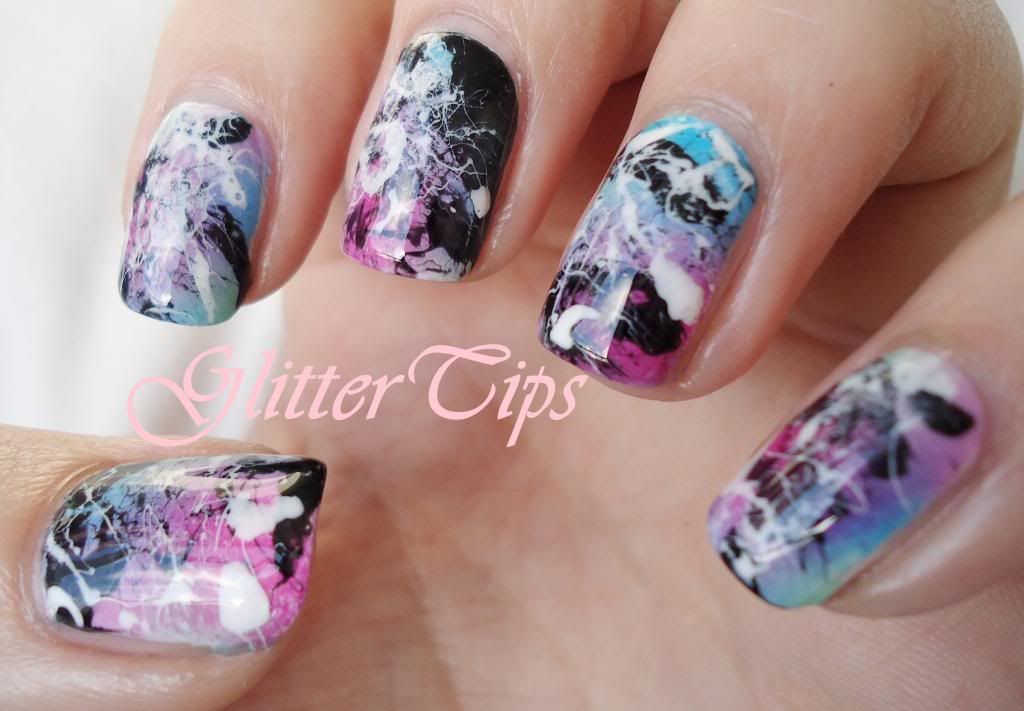
The New 31 Day Nail Challenge - Day 11 - Splatter

We are on Day 11 of the challenge and today's theme was Splatter!
I have never tried splatter nails before so this was completely new to me. I knew the basic method so just grabbed my weapons of choice and got to work.


I started with two coats of Barry M Matt White as a base. Then I randomly added blobs of Barry M Shocking Pink, Pure Turquoise, Mint Green and Berry Ice Cream to a sponge and sponged it onto the nail to create a random gradient type background.
Then I took my drinking straw and used Barry M Black and Matt White for the splatter effect.

I have to say I honestly thought I was going to get myself into a complete mess with this but I'm really happy with how it turned out and I managed to keep the mess to a minimum too so that was a bonus!


Tomorrow is Tape Mani day, which I always get into a mess with!

♥ A ♥

Friday, 23 November 2012

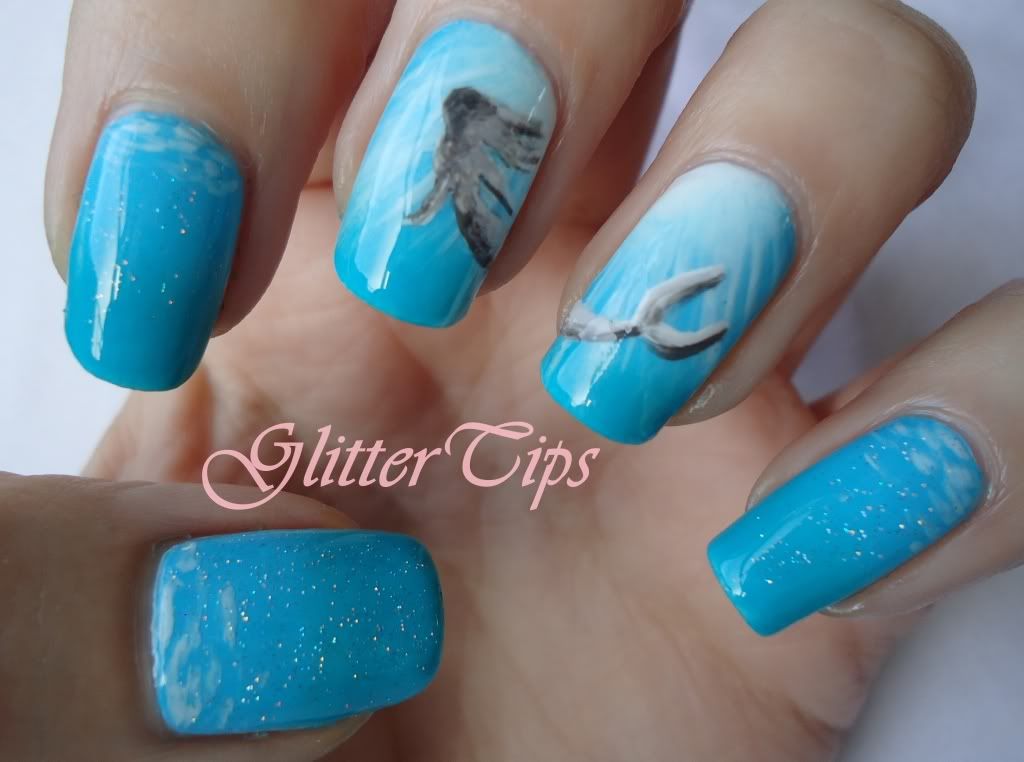
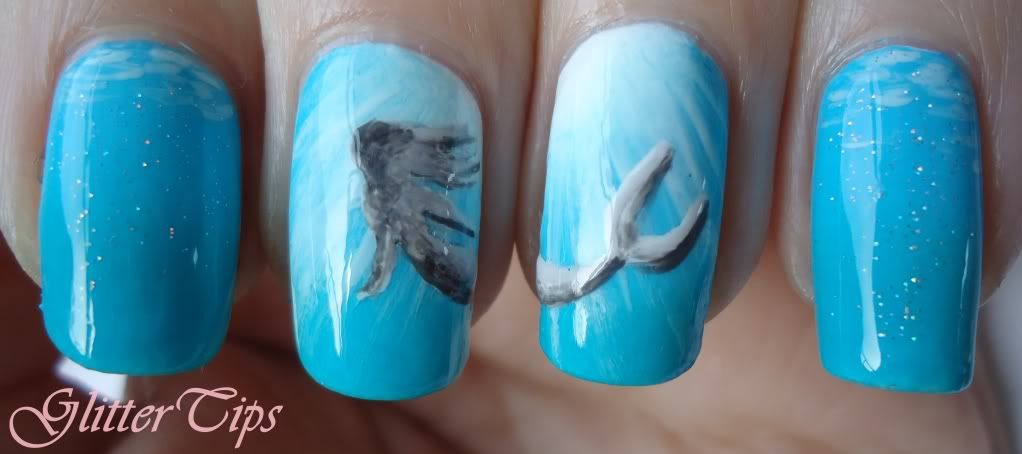
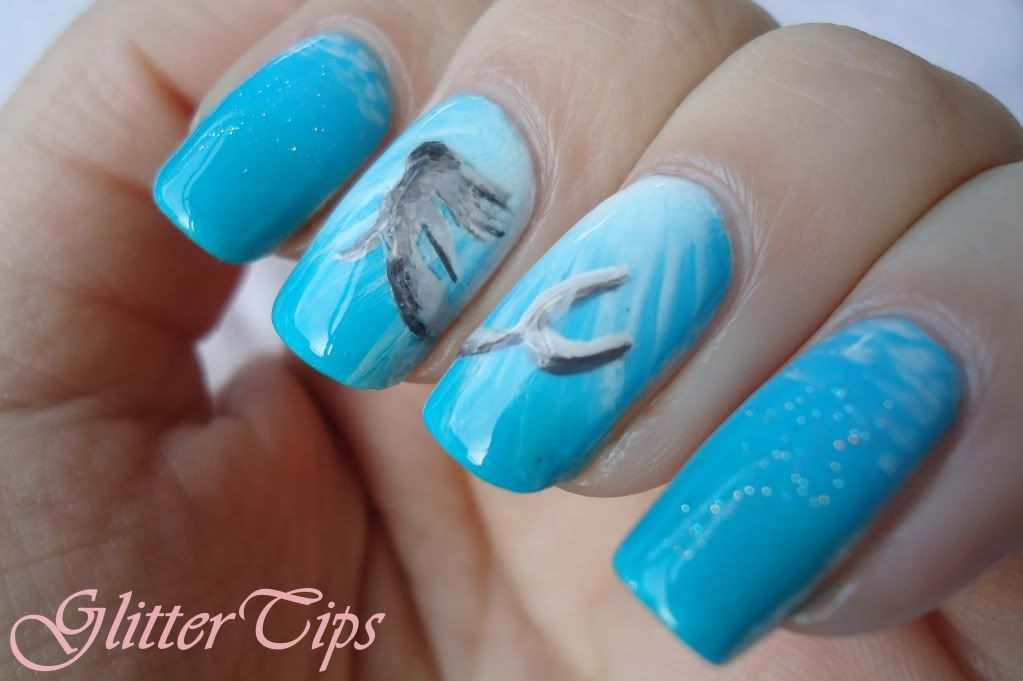
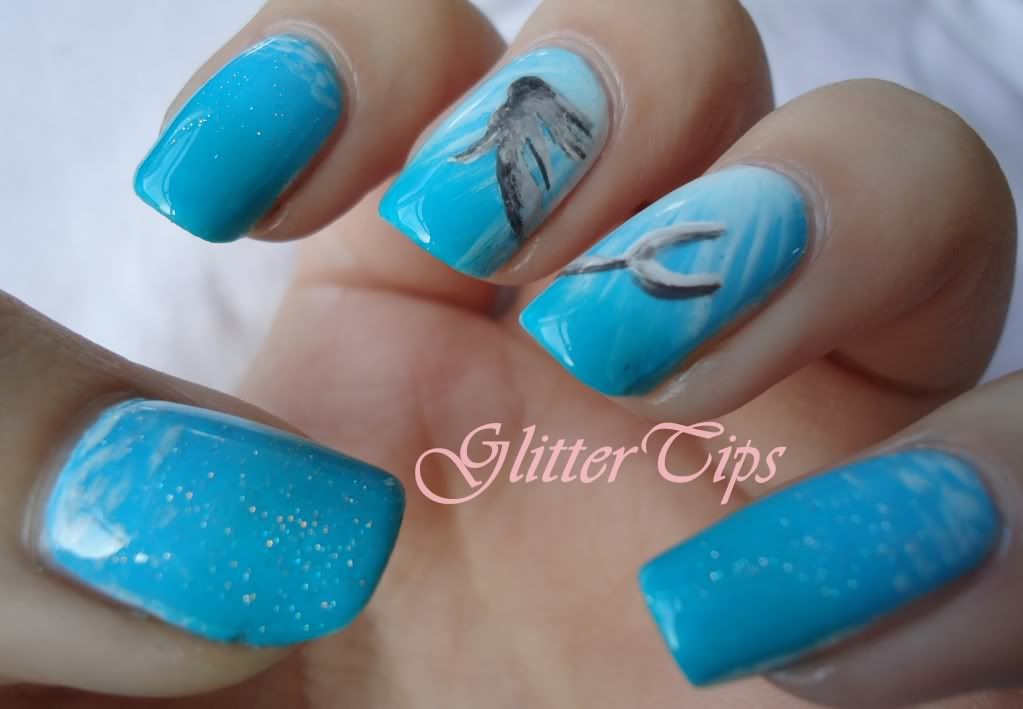
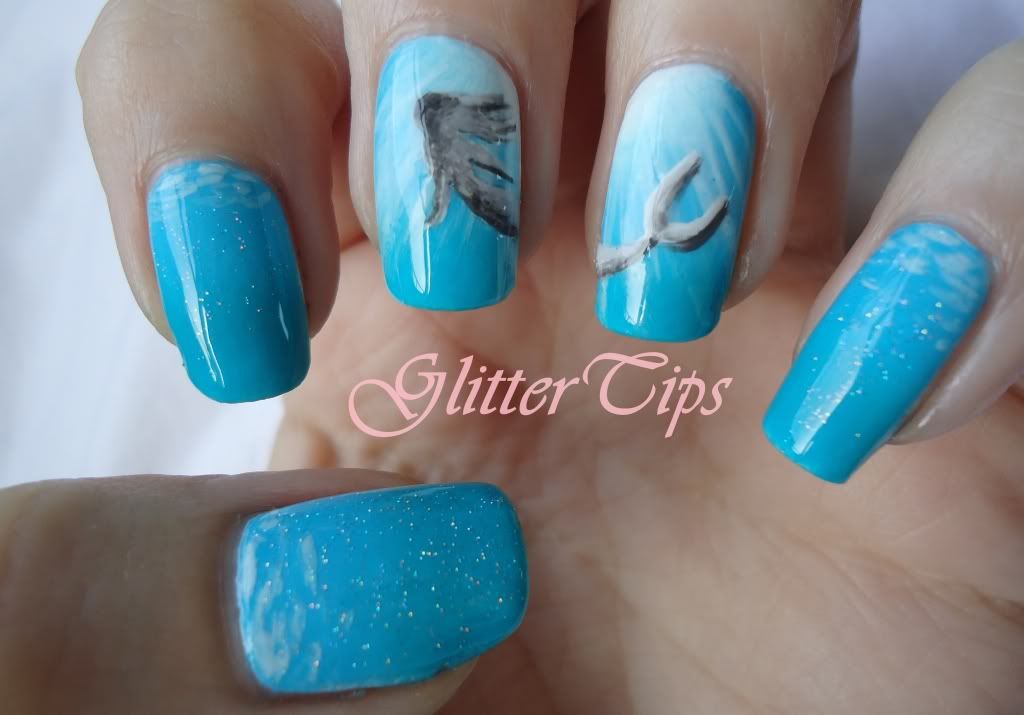
Lazy 15 Nail Challenge - Day 10 Underwater Creatures/Mythical Water Creatures

Today is day 10 of the Lazy 15 Challenge and the theme is Underwater/Mythical Underwater Creatures.
I knew as soon as I saw it I was going to do mermaid nails. I toyed with the idea of octopus/kracken nails, but I just kept coming back to mermaids.


I wanted to give the effect of looking up from under the water at the mermaid against the light, as if she was spotted by some scuba divers or something. I'm fairly certain I'm not describing it very well but hopefully you catch my drift!

I started by applying a gradient over a base of Barry M Matt White.
For the gradient I used a piece of kitchen sponge as usual. On the ring and middle fingers I added Barry M Matt White to the top right/left corners then Barry M Pure Turquoise and Rimmel London 60 Second Nail Polish in Sky High which is a bright teal.
On the pinky, index and thumb I just did a normal gradient of the Pure Turquoise and Sky High.
When that had dried, I mixed a little Pure Turquoise and Matt White and used it on the two middle fingers lightly with a bit of acetone to make the lights rays coming through the water, then roughly at the top of the other three nails to look like light reflecting off the surface of the water.
Next I did the shape of the mermaid in Matt White, then mixed Matt White, Grey and Black, all by Barry M, to do the shading.
To finish I used China Glaze Fairy Dust on the pinky, index and thumb for a little sparkle then topcoated with Seche Vite.

Unfortunately the greeny teal shade of Sky High doesn't show up in the photos, which is a pain as it gives a bit of depth. But other than that I am in love with this one, I'd totally keep it on all weekend if I wasn't going out tomorrow evening!

Hope you all have a fab weekend!

♥ A ♥

Monday, 5 November 2012

The Lazy 15 Challenge - Day 2 Gradient

I do love a gradient, and to me there's no better gradient than a nice bright neon one!
So for todays challenge I broke the China Glaze Summer Neons out once again.


I love how this turned out and I love having some bright colours on my finger nails again too!
I used China Glaze Hang-Ten Toes as a base then sponged on Orange You Hot?, Surfin' For Boys, Hang-Ten Toes and Beach Cruise-R for the gradient.

Next up is Dots!


♥ A ♥


Wednesday, 10 October 2012

Inspired By - Art Deco NOTD

Sometimes nail art ideas just pop into my head and won't leave me alone until I try them out.
This was one of those ideas. I'm not even sure where it came from, it started out more tribal in my head but when I started drawing it turned Art Deco. I do know that the colour combination is from the Princess Jasmine nail art I did a few days ago, I just loved the mint, lilac, black and gold together.


I wasn't sure about them when I first finished them. I felt they were a bit much, I even tweeted a photo asking if they were blog post worthy and the answer was yes so here they are! They have grown on me now though and I really enjoyed wearing them.

The colours I used are - 
Barry M Matt White as a base.
Barry M Berry Ice Cream and Essie Mint Candy Apple for the gradient.
Barry M Black.
Barry M Gold Foil and then I used Gold Nail Art Foil over the top.

♥ A ♥


Friday, 14 September 2012

China Glaze Bohemian Gradient NOTD

I had a whole other mani and post planned for today, but when I woke up this morning and saw THIS post from The Polished Mommy I changed my mind!
All of a sudden, the need for a Bohemian Gradient became urgent.


How pretty is that?!
This is done using the three colours that The Polished Mommy used on her ring finger.


I'd apologise for all the photos but I don't want to.
Just look at them!! 
They remind me a bit of oil on water.


There are just no words that do this justice.
I used my usual damp kitchen sponge technique over two coats of Barry M Black.
The China Glaze polishes I used are Swanky Silk, No Plain Jane and Want My Bawdy all from the Bohemian collection.

Must get back to staring at my nails.

♥ A ♥

LinkWithin

Related Posts Plugin for WordPress, Blogger...