Showing posts with label Freehand nail art. Show all posts

Friday, 17 May 2013

Inspired by... - Graffiti Nails

Quite a while ago now I came across this video by Algae Veronica on YouTube and absolutely loved it.
I knew I wanted to have a go at something similar but just never got round to it until recently!


I decided to start with a base of Barry M Matt White.
Then I used Splish Splash, Love's A Beach, Orange You Hot?, Beach Cruise-R, Sun-Kissed and I'm With The Lifeguard from the China Glaze Summer Neon 2012 Collection to create the sponged gradients in the corners. I then used Barry M Black with a fine nail art brush to free hand the explosions.

I loved wearing these, they made me happy every time I looked down at my nails!

If you want to see more of Algae Veronicas amazing nail designs then you can find her in the following places.


♥ A ♥

Wednesday, 15 May 2013

Studded Spring Floral - Nail Art

If you follow me on Instagram then you may have already seen todays nails.
The sun had put me a in a Spring mood but I wasn't ready to stop playing with the Nail Studs so I decided to try a studded floral design.


I used two coats of Barry M Matt White as a base then used some paper hole reinforcer stickers to mark off the half moons on my pinky and index fingers and used Barry M Black with a fine nail art brush to freehand the stripes. On my thumb, middle and ring fingers I used Barry M Baby Pink and Lemon Ice Cream with a nail art brush to randomly add some petal shapes and Barry M Black again for the 'stalks'. I then gave all five nails a coat of China Glaze No Chip Top Coat and applied the studs whilst that was still wet. When that had dried I finished with another layer of top coat.

I loved these, I liked the mix of delicate pink and yellow floral with bold stripes and studs, I thought they worked nicely together. I think it will looks equally as good using some brighter colours for the flowers, maybe red and fuchsia.

Let me know what you think!

♥ A ♥

Monday, 13 May 2013

Born Pretty Store - Nail Stud Wheel Review

Hey!
Sorry to have been gone so long.
I took a bit of an unexpected break from blogging for a few reasons, just one of which being that all my nails decided they were going to break off and look terrible so I needed to give them a bit of a break. I took the time off to work on a couple of other things too but now my nails are back in fighting form I am so glad to be able to do my nails and blog again.

Today I have a review for you.
A while back I received this Nail Stud Wheel from the Born Pretty Store to review.


I love anything with studs so I could not wait to experiment with these!
As you can see there are 12 sections each holding a different stud making it ideal if you are yet to try nail studs. There are plenty to play with in each section, and I love that there is a mix of Gold, Silver and Black studs in there along with different sizes and shapes.

I wanted to do something to show as many of the different types of studs as I could get away with in one design and here's what I came up with.


I used Barry M Gelly Effect Lychee and Barry M Black for the nail art then applied a coat of Barry M All In One Basecoat/Topcoat/Nail Hardener over the top and applied the studs while that was still wet. Once they were all in place I let them dry for a little while then finished with a coat of China Glaze No-Chip Top Coat.

The studs lie quite flat to the nail and aren't too big which helps them last longer on the nail without catching on anything, mine lasted a full three days before I lost the first stud.
I have been so impressed with this little wheel of wonder that I have used studs in almost every design I've done since they arrived, so expect to see a lot more of them!

You can buy your own Nail Stud Wheel on the Born Pretty Store website HERE for $4.89 plus free worldwide shipping and you can use the code QPL91 anytime for 10% off.


♥ A ♥
Thursday, 14 February 2013

Valentines - Nail Art

Today is Valentines Day and I have to say I am not much of a fan.
But I have made somewhat of an effort and put a heart on one of my nails so I thought I'd show you!


For these I started with two coats of Barry M Matt White and used Avon Nailwear Pro Vintage Blue to make the umbrella/pinwheel pattern.
It's quite tricky to try and explain clearly how I did it but I'll give it a go.
I started with a really small dot roughly in the center of my nail, and made a line with the blue polish from the dot to the edge of my nail, I then made another line from the dot to the side of my nail so I had a quarter marked out. I then divided that quarter into four and painted two of those sections with the blue and repeated for the other three quarters.
If that makes as little sense as I think it does let me know and I'll make a tutorial!

For the heart I used China Glaze Igniting Love and Barry M Red Glitter then just framed the pinky and index fingers with red Glequins!

I like it, it's not too Valentines-y but shows that I'm aware of the date and that I'm not a completely bitter married just yet ;-) I suppose you could make it a bit more valentines appropriate by using reds and/or pinks instead of blue and white but I really like theses colours together, it's a combo I'll be sure to use again.

Hope you are all have a good day!

♥ A ♥
Thursday, 7 February 2013

Leopard Print & Half Moons - Nail Art

Here is my nail art post that was supposed to go up yesterday but then I fell asleep! Whoops!

I was inspired by this Pin I have on my Nail Inspiration Board on Pinterest.
Unfortunately after spending most of the morning and the afternoon up until now searching I cannot find where the original image came from to link back to, so if anyone knows please let me know so I can add the link.

*Edited to add link - HERE*


For these I started with two coats of Barry M Black on the Thumb, Middle and Ring fingers and two coats of OPI Skull & Glossbones on the Index and Pinky. I then free handed the half moons with Barry M Black and used  Models Own Bronze Rage and Barry M Black again for the leopard print. I added the Swarovski Crystals (HERE) on to a wet layer of China Glaze No Chip Top Coat and then finished the all black nails with a coat of Seche Vite. I didn't topcoat over the crystals as I didn't want them to lose their sparkle but they are still going strong 24hrs later!

♥ A ♥

Monday, 4 February 2013

Camouflage - Nail Art

Happy Monday to you all, I hope everyone has had a good start to their week!
Today I have some nail art for you that was inspired by a YouTube video by Love4Nails.
Back in November Love4Nails uploaded a Camouflage Nail Art Design Tutorial.
I loved the design and the colours she used together, however my nails are a lot shorter than hers so I had to adapt the design a bit. Instead of doing a camouflage french, I did a mix of half moons and full nails.


I love these so much!
I used two coats of OPI Skull & Glossbones as my base colour then started with large, random blobs of  Models Own Bronze Rage. For the green I mixed Barry M Lime Green, Mint Green, Spring Green and Mushroom and applied that randomly again overlapping slightly on some of the bronze, then I used Barry M Black for the smaller blobs. Finally I added Barry M Green Glitter over the top of the green and a coat of Seche Vite to finish.
Then I got curious and for the first time in quite a while I went and got my No7 Stay Perfect Matte Topcoat to see what it looked like matte.


I like it, but much prefer it glossy!
What do you think?

♥ A ♥
Thursday, 10 January 2013

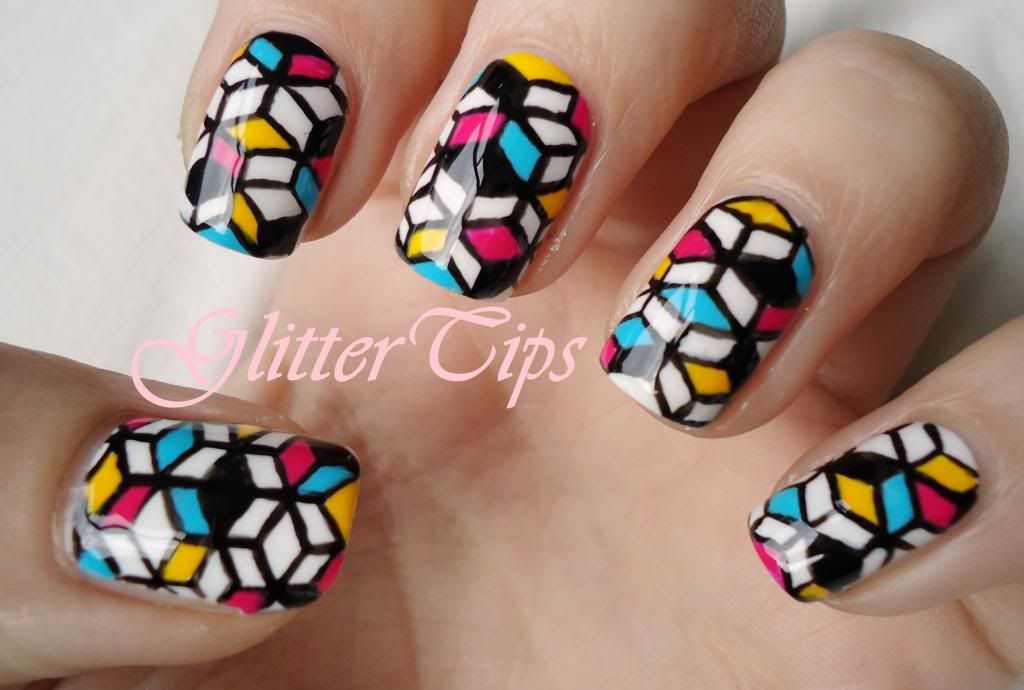
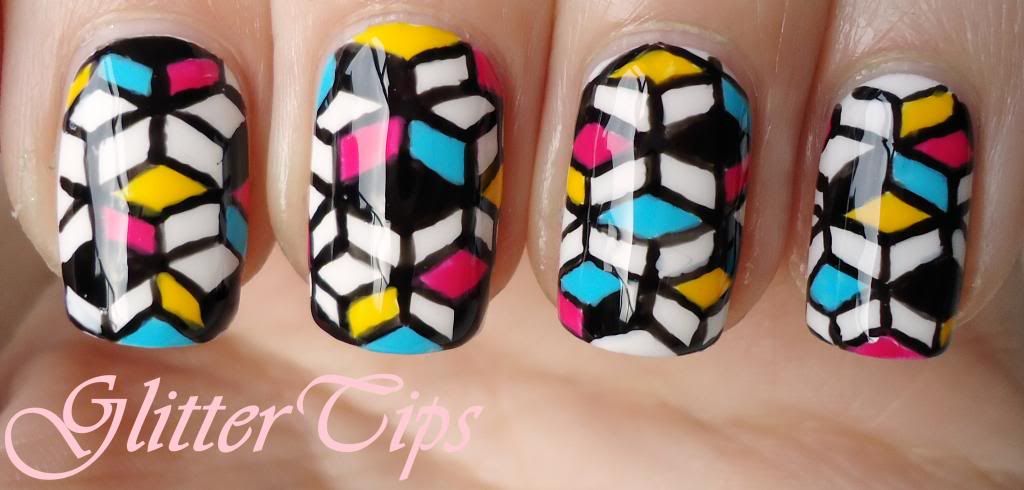
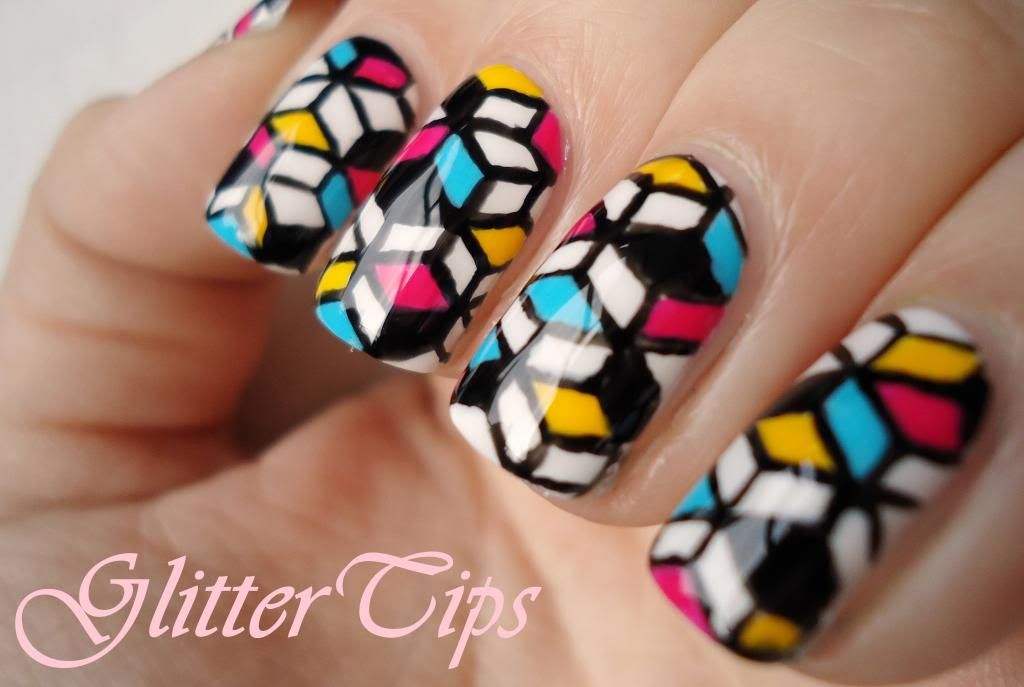
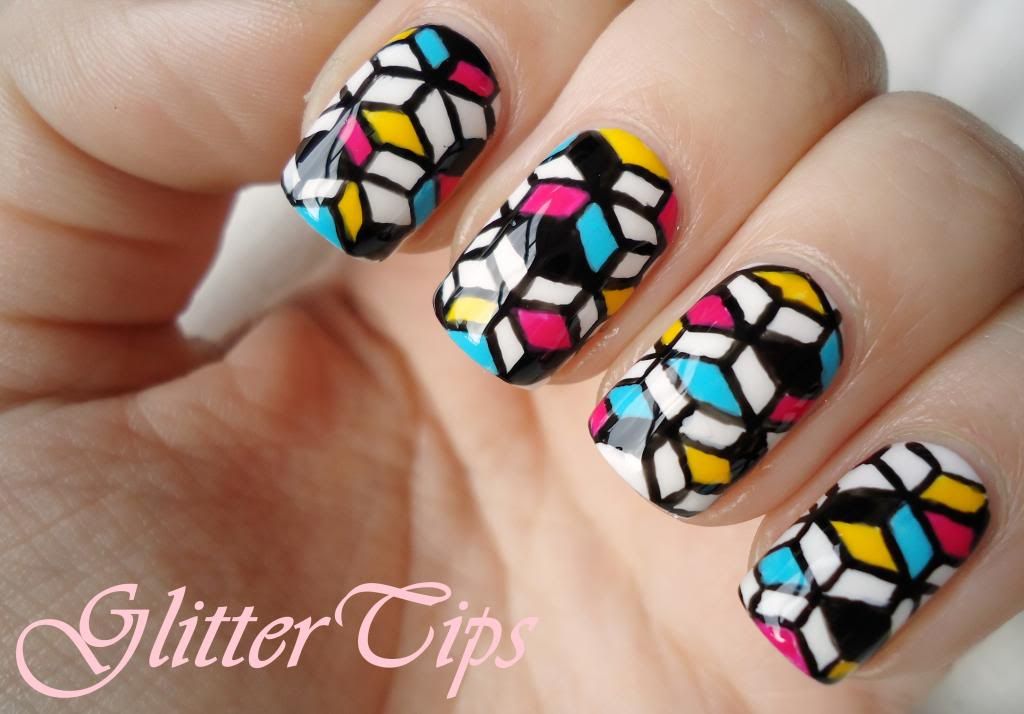
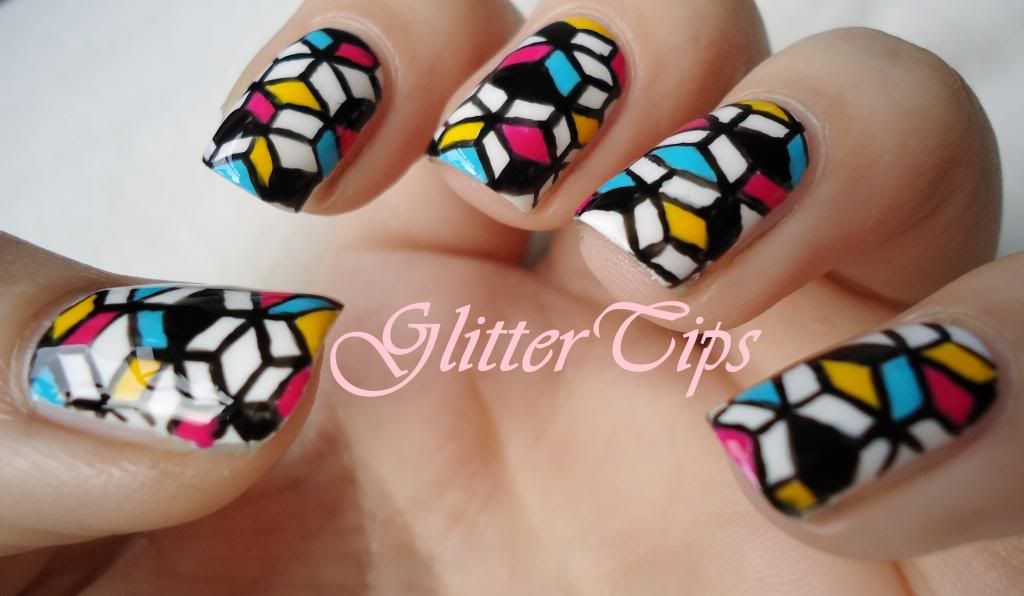
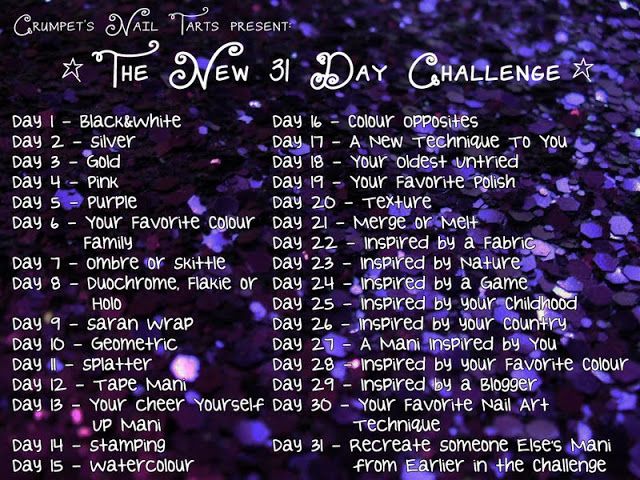
The New 31 Day Nail Challenge - Day 10 - Geometric

You might have seen today's nail art somewhere else before.
And it was more than likely here on Copy That, Copy Cat blog.
Copy That, Copy Cat was one of the first nail art blogs I came across when I first started getting into nail art. It is an absolutely amazing blog full of gorgeous swatches and designs, I could sit and read it all day, in fact I think I did the first time I came across it!

Anyway, when the 3D Cube design was first posted I instantly loved it and thought firstly 'How is that even possible?!' and then 'one day I will be confident enough to attempt to recreate that'.
Apparently today was that day!


They are a bit wobbly in places but I love them. I think I might cry when I have to take these off tomorrow!

The polishes I used to recreate this look are two coats of Barry M Matt White as the base, Barry M Black for the patterns outline and Barry M Pure Turquoise, Shocking Pink and Yellow for filling in.


Tomorrows challenge is Splatter, another technique I have never tried before!
Don't forget to take a look at what the others have come up with today!

♥ A ♥
Monday, 7 January 2013

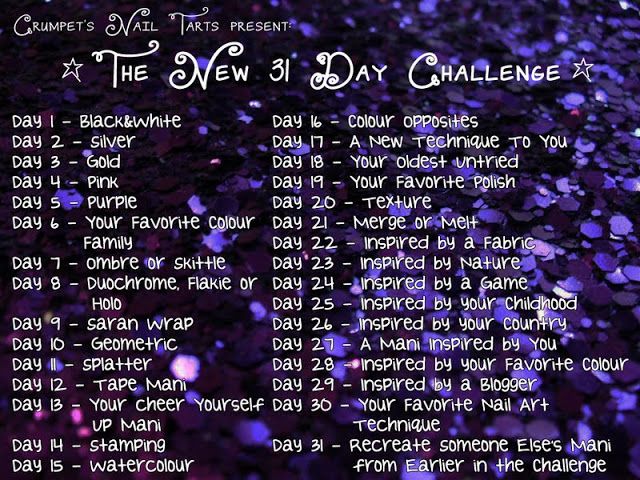
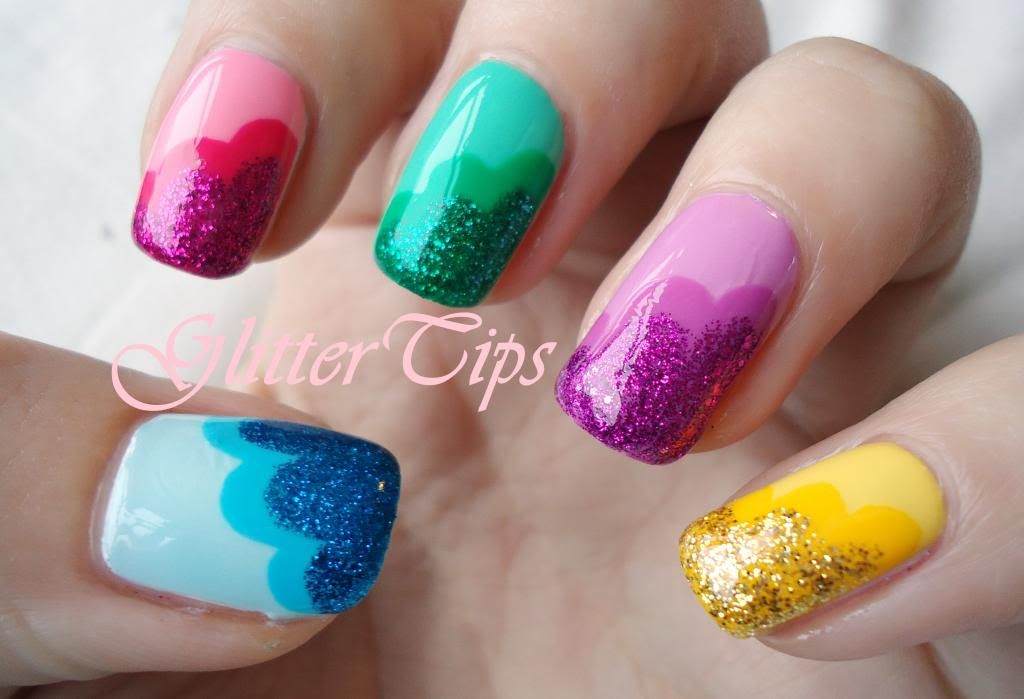
The New 31 Day Nail Challenge - Day 7 - Ombre or Skittle

So we are one week into The New 31 Day Nail Challenge and today is Ombre or Skittle day.
Ombre wasn't appealing to me today so Skittle it was.


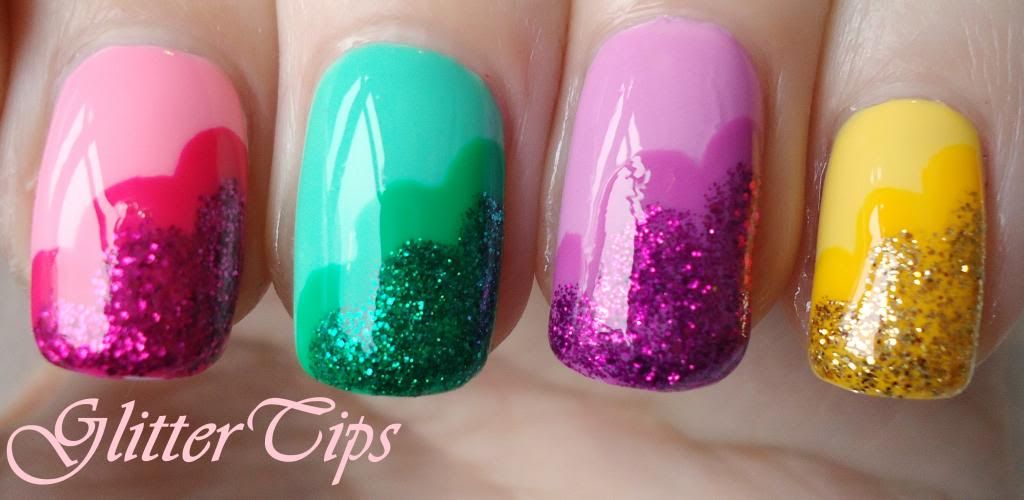
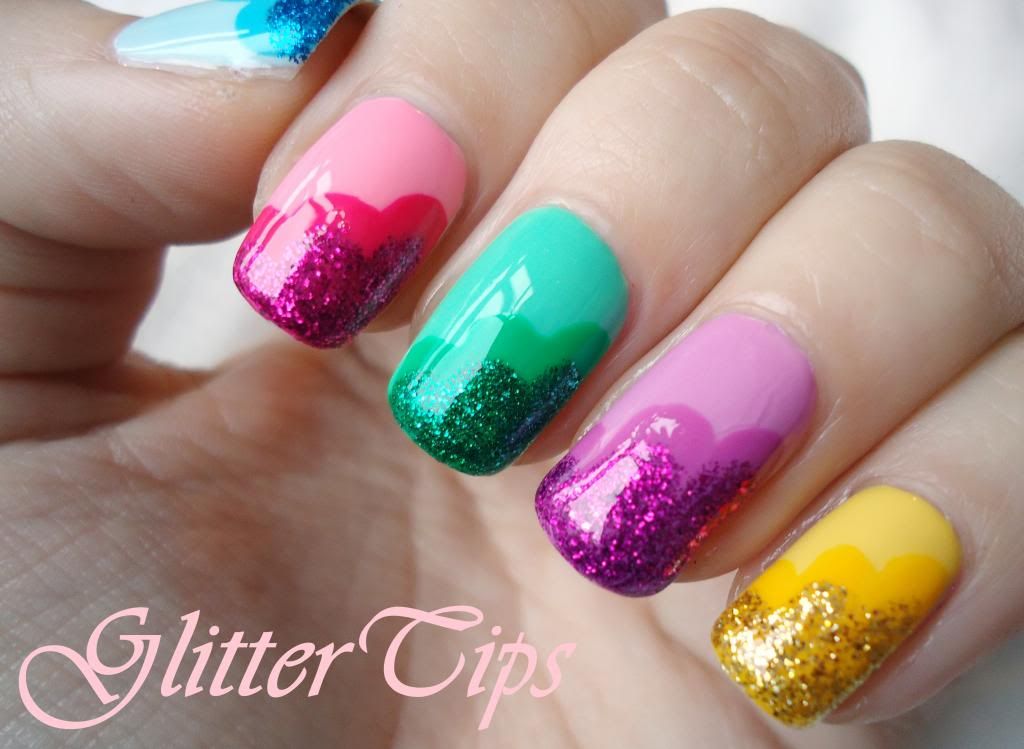
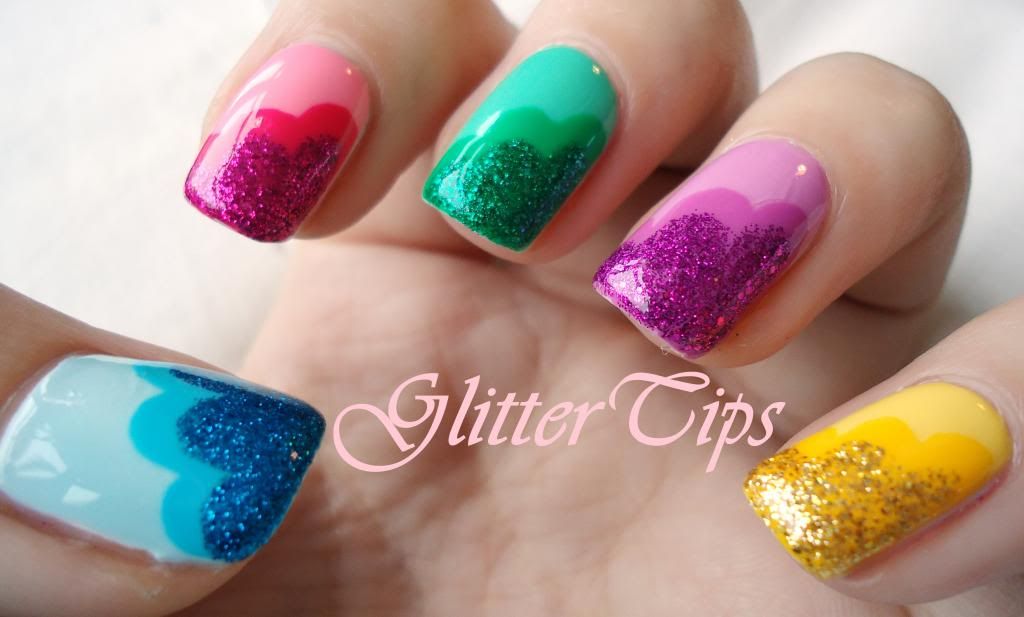
I have used this colour combination before in the Makeup Savvy challenge and I like it so much I decided to use it again but with a Cloud Mani as that's something I hadn't done before!

The polishes used are -
Thumb - Barry M Blue Moon, Pure Turquoise and Blue Glitter.
Index - Barry M Strawberry Ice Cream, Shocking Pink and Models Own Magenta Divine.
Middle - Barry M Mint Green, Spring Green and Green Glitter.
Ring - Barry M Berry Ice Cream, Boots LE Purple, and Magenta Glitter.
Pinky - Barry M Lemon Ice Cream, Yellow and Gold Glitter.


Tomorrows theme is Duochrome, Flakie or Holo!
Can't wait!

♥ A ♥
Sunday, 6 January 2013

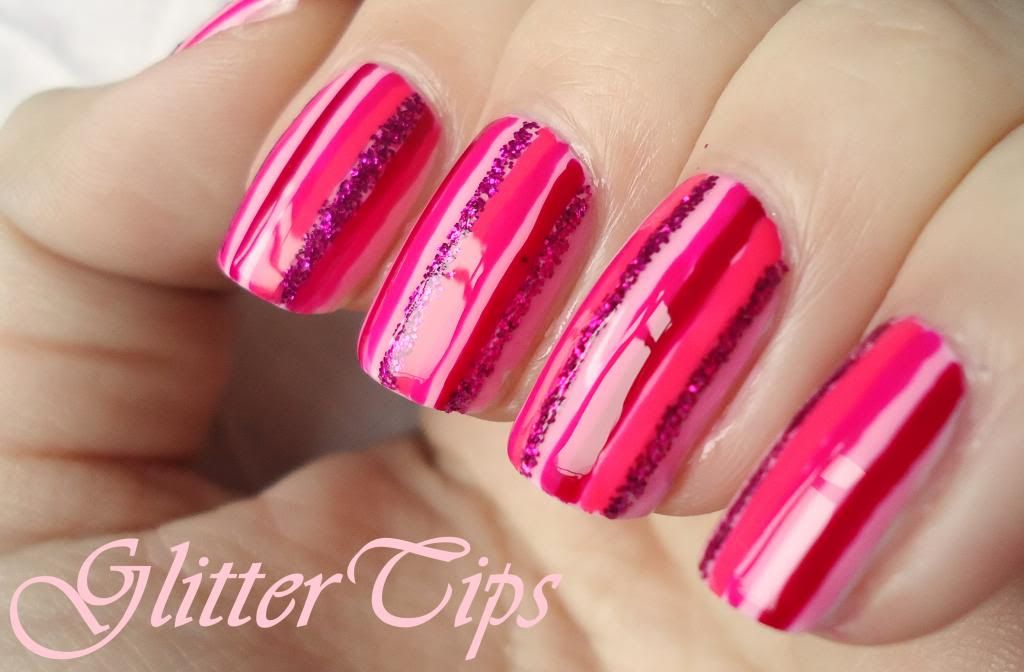
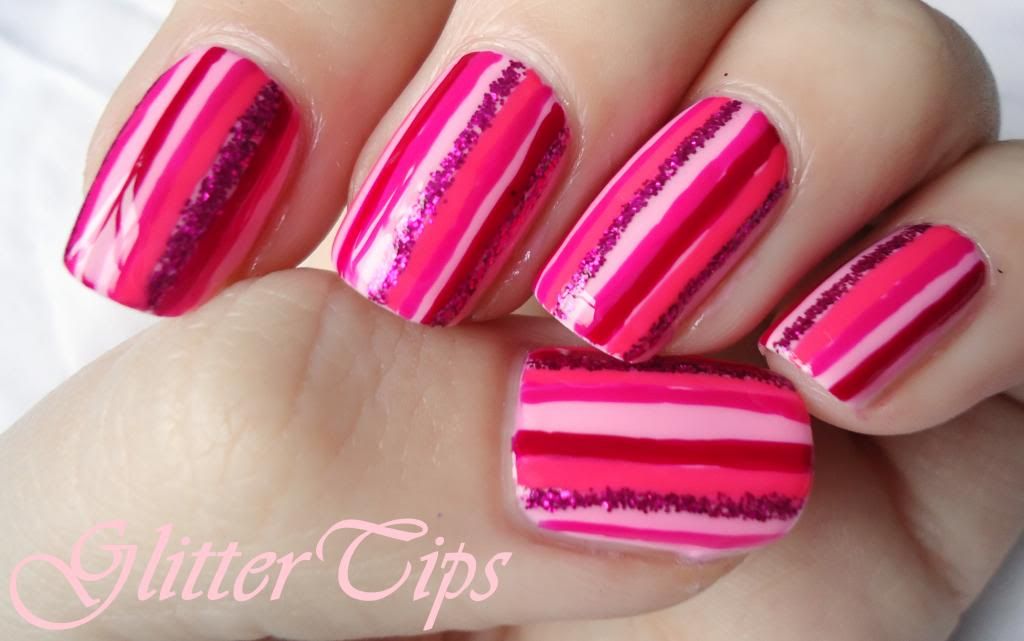
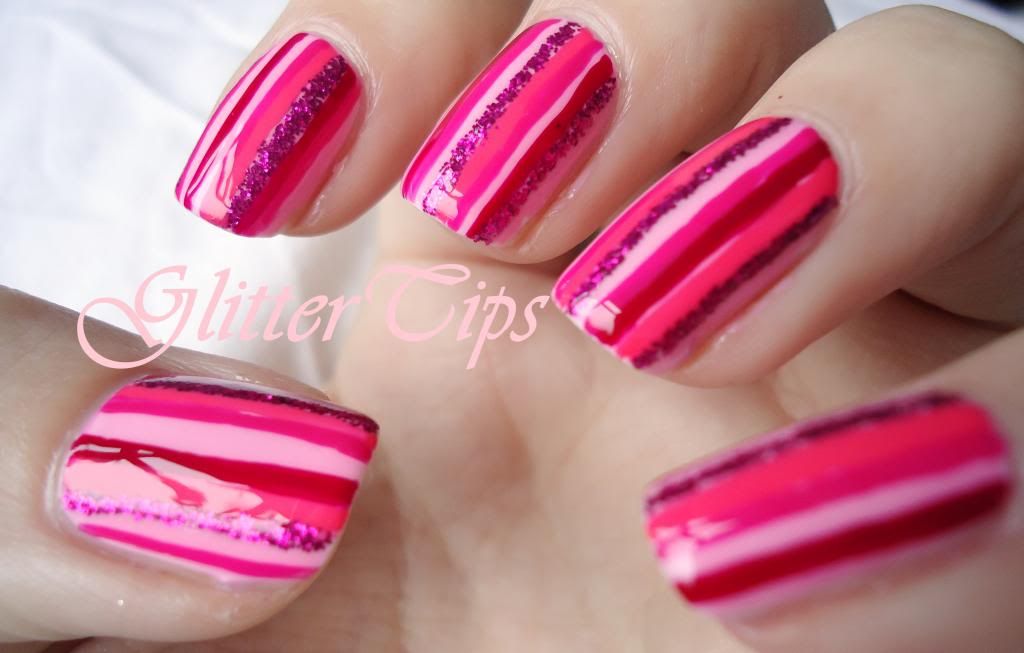
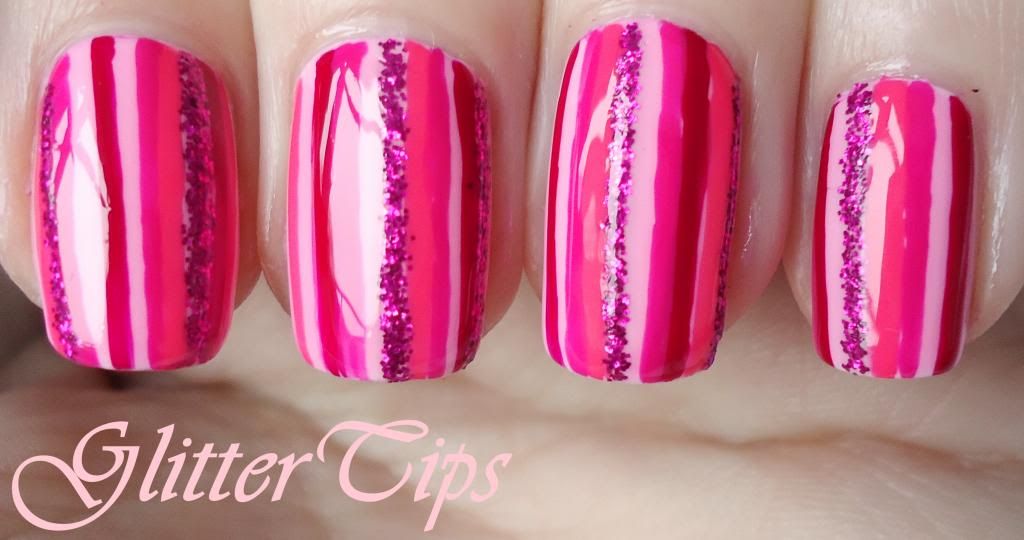
The New 31 Day Nail Challenge - Day 6 - Favourite Colour Family

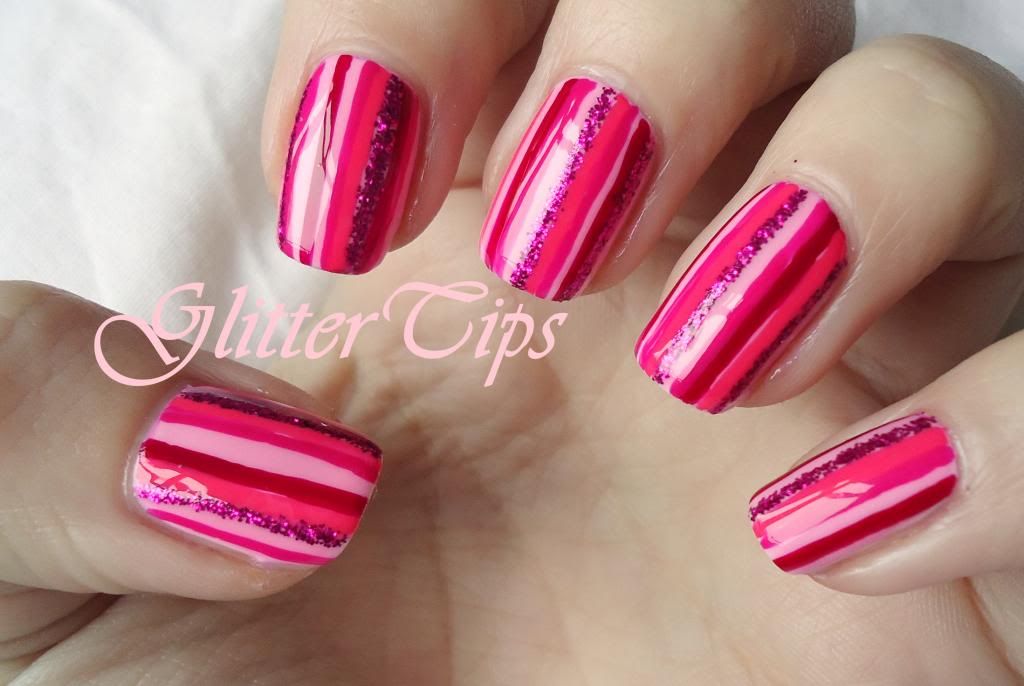
Day 6 of the challenge is 'Your Favourite Colour Family'.
I wasn't sure what to do for this one colour wise. As you know Pink is my favourite colour, we have already had a Pink Day, and later on in the challenge one of the challenges is 'Inspired By Your Favourite Colour'. I briefly toyed with the idea of using a different colour today so as not to over load you with Pink, but then I wouldn't be using my favourite colour family.
So Pink it is!


The appalling light we have had lately has led to these photos coming out a little Red toned but I assure you, in person it's definitely Pink!
The polishes used were, two coats of Barry M Matt White as a base, then a coat of Barry M Strawberry Ice Cream. I then free handed the stripes using Barry M Raspberry, Barry M Shocking Pink, Barry M Gelly Grapefruit, and Models Own Magenta Divine Glitter.

Up next is Ombre or Skittle.


Don't forget to take a look at all the other very talented challengers!

♥ A ♥

Saturday, 5 January 2013

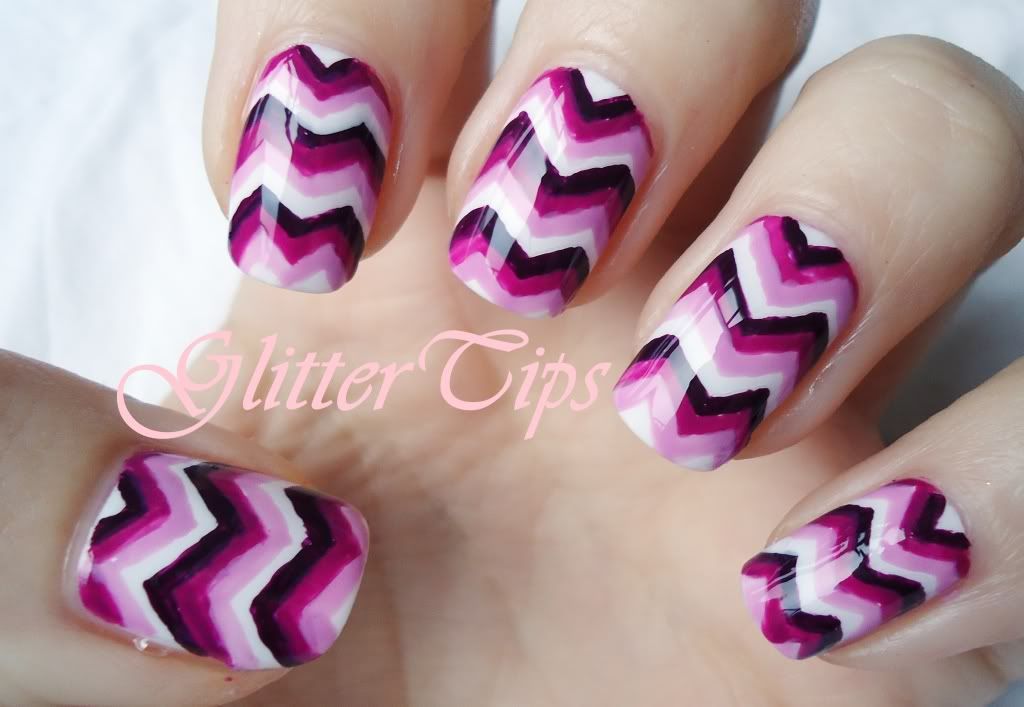
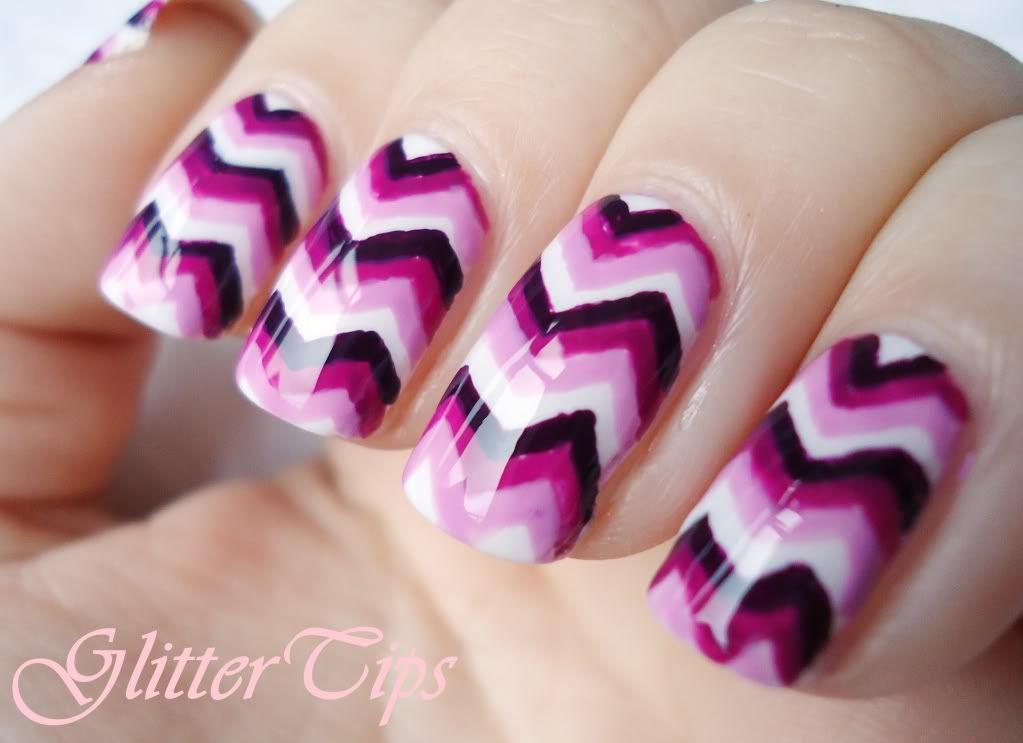
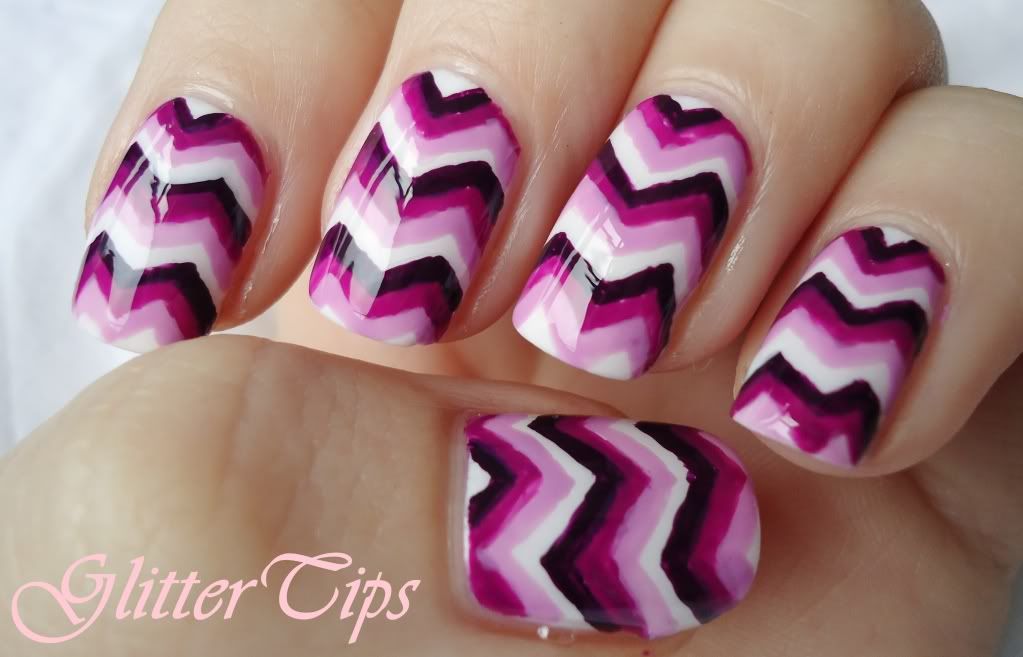
The New 31 Day Nail Challenge - Day 5 - Purple

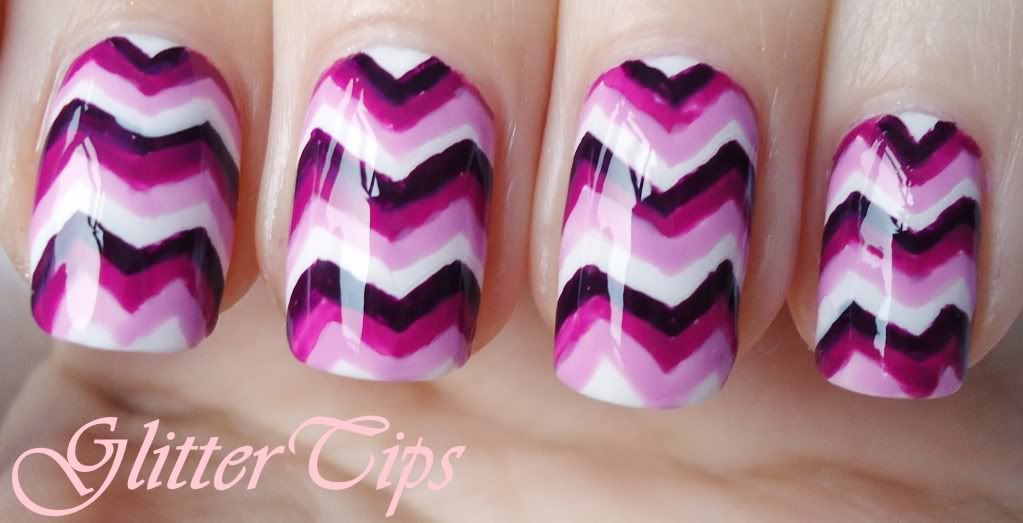
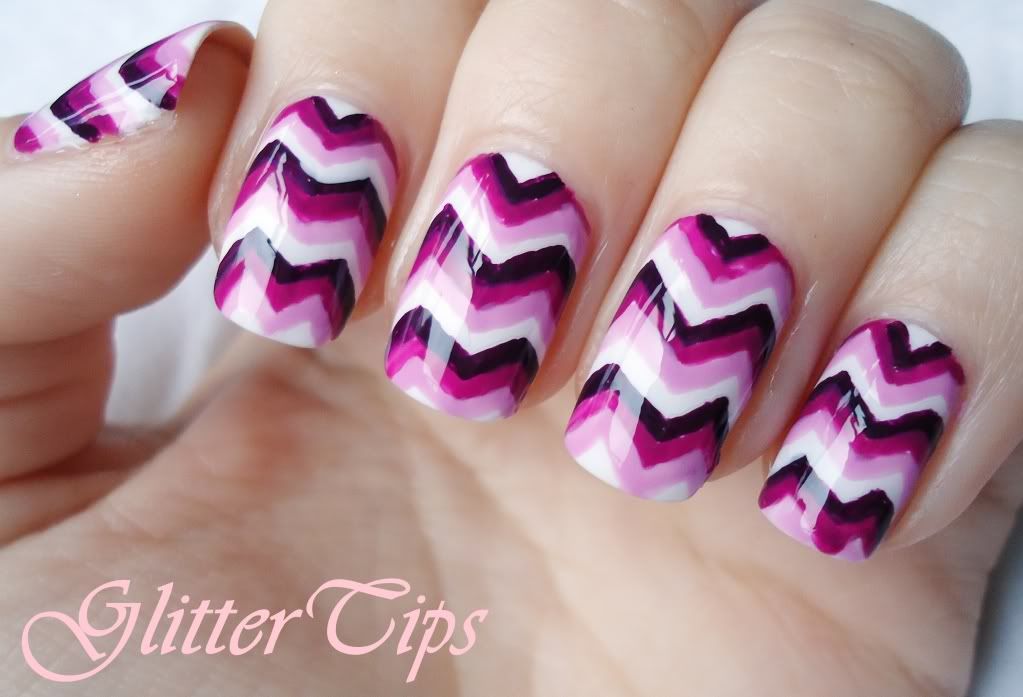
Day 5 of The New 31 Day Nail Challenge is the colour Purple, another favourite of mine.


These didn't turn out quite as neat as I would have liked but I got up late and the light was fading inside and out so I was in a bit of a rush. I still like the overall effect of them though.
I started with two coats of Barry M Matt White, then used Sally Hansen Bewitched, Barry M Bright Purple and Barry M Berry Ice Cream for the zigzag stripes.


Tomorrows challenge is Your Favourite Colour Family.

Don't forget to take a peek at what the other lovely ladies have been coming up with!

♥ A ♥

LinkWithin

Related Posts Plugin for WordPress, Blogger...